Understanding Nginx as a Reverse Proxy
I explain what a reverse proxy is, walk through the core nginx blocks, and show how to add load balancing, gzip, and rate limiting to a production config.
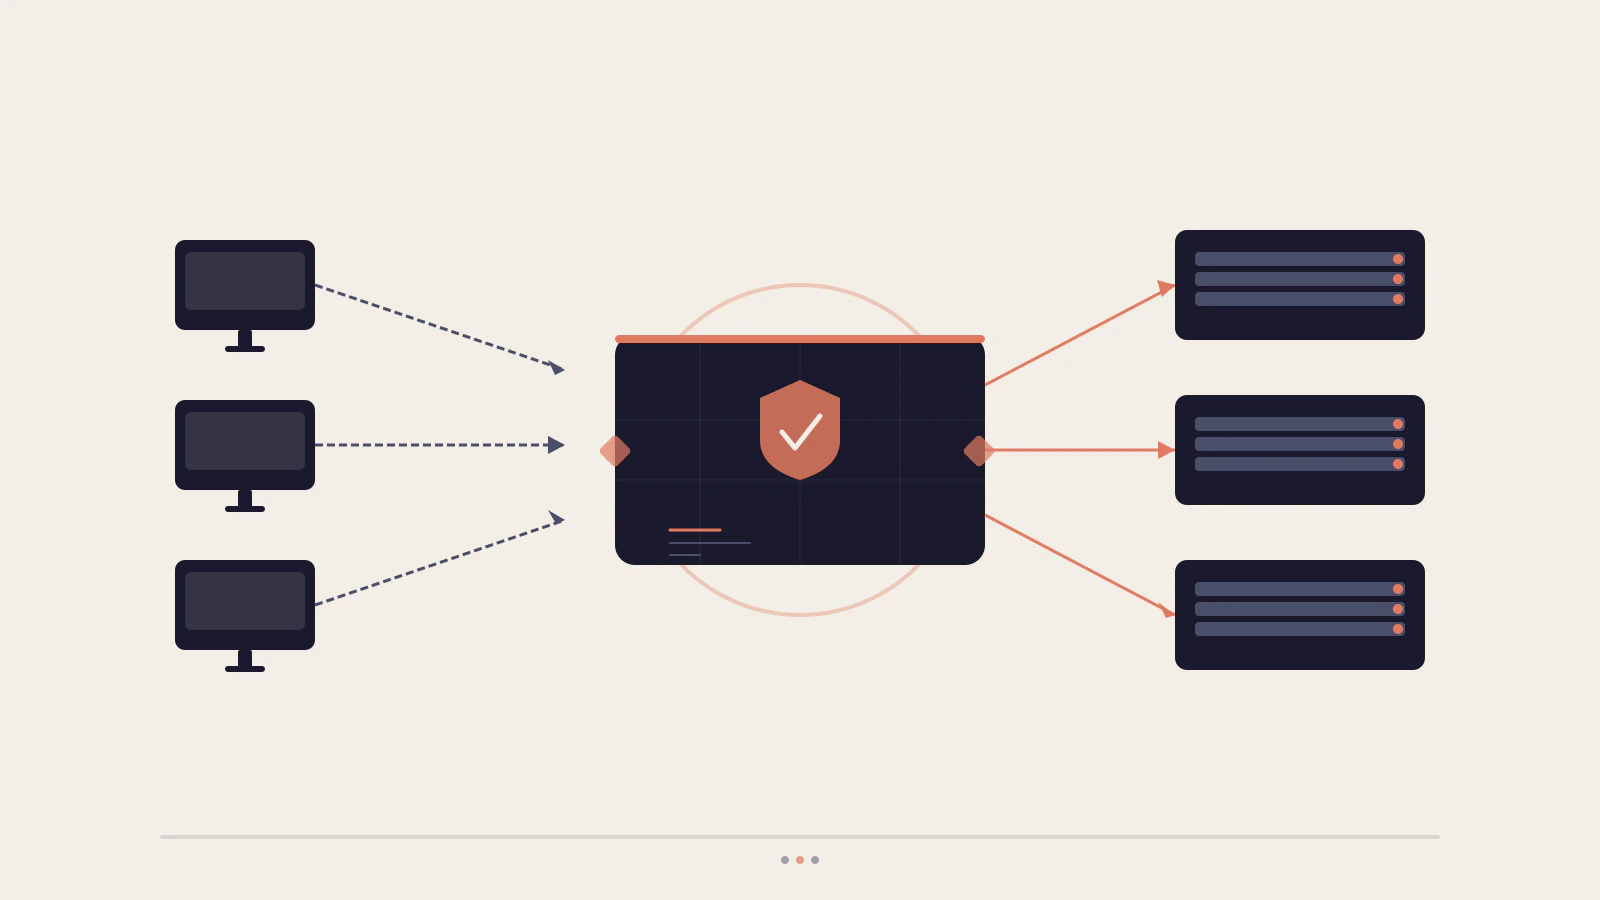
Your Node.js API runs on port 3001. That’s fine in development. You deploy it to a server and clients can reach it directly via the IP address and port — but that works only for a quick test. A real deployment needs a domain, HTTPS, the ability to serve static files without routing every request through your app, protection against traffic spikes, and room to run multiple API instances without changing DNS. Nginx handles all of that. It sits between the internet and your API and manages the traffic layer so your application code doesn’t have to.
The Nginx docs are thorough but dense, and most tutorials paste a config block without explaining the reason behind each directive. This post builds the config from scratch, explains what each piece does, and points out the mistakes that aren’t obvious until traffic behaves strangely.
On this page
- What a reverse proxy actually does
- The core nginx server block
- Serving static files alongside your API
- Load balancing with upstream
- Gzip and rate limiting at the edge
- What goes wrong in practice
- The nginx mindset
What a reverse proxy actually does
A forward proxy sits in front of clients. It sends requests on their behalf, hiding client identities from origin servers. A reverse proxy sits in front of servers. It receives requests from clients and forwards them to internal services — the internet sees only the proxy, not whatever is running behind it.
When Nginx is your reverse proxy, your Node.js API only ever receives traffic that Nginx passes through. The API binds to localhost:3001 and is never directly reachable from the public internet. Only Nginx is exposed on ports 80 and 443.
That architecture gives you several things without writing a line of application code:
- Port flexibility. Your API can run on any port. Clients always connect to port 80 or 443.
- TLS termination. Nginx handles the HTTPS handshake. The hop between Nginx and your API can stay plain HTTP on the loopback interface.
- Multiple backends behind one domain. You can proxy
/api/to one service and/app/to another without changing anything visible to the client. - Traffic shaping. Compression, caching, rate limiting, and load balancing all happen at the proxy layer before a request touches your code.
This is why the REST API with Node.js and Express guide doesn’t include any Nginx configuration — the API handles business logic, and Nginx is the infrastructure layer that faces the internet.
The core nginx server block
The minimum config to proxy HTTP requests to a Node.js API looks like this:
server {
    listen 80;
    server_name example.com;

    location / {
        proxy_pass          http://localhost:3001;
        proxy_set_header    Host              $host;
        proxy_set_header    X-Real-IP         $remote_addr;
        proxy_set_header    X-Forwarded-For   $proxy_add_x_forwarded_for;
    }
}
listen 80 accepts connections on port 80. HTTPS uses port 443 and requires SSL configuration — that’s a distinct step covered in a later post.
server_name is the domain this block handles. Nginx uses it to route incoming requests to the correct server block when multiple sites share the same machine. If no block matches an incoming request’s Host header, Nginx falls back to the first server block in the config. That fallback trips people up when a site unexpectedly picks up traffic intended for a different domain.
location / matches all request paths. Nginx uses longest-prefix matching: a more specific block like location /api/ takes priority over location / for any path starting with /api/. You can have as many location blocks as you need — more specific ones just need to appear somewhere in the same server block.
proxy_pass http://localhost:3001 is the forwarding target. The trailing slash matters more than it looks — I’ll cover exactly why in the mistakes section.
The three proxy_set_header directives aren’t optional:
Host $hostpasses the original domain to your API. Without it, your app receiveslocalhostas the Host header, which breaks virtual host logic, cookie domains, and redirect generation in frameworks like Express.X-Real-IP $remote_addrgives your application the actual client IP address. Otherwise every request looks like it came from127.0.0.1.X-Forwarded-For $proxy_add_x_forwarded_forpreserves the full IP chain when multiple proxies sit in front of the origin.
Check this before moving on
-
server_namematches the domain pointing to this server -
proxy_passpoints to the correct host and port your API is listening on - All three
proxy_set_headerlines are present
Serving static files alongside your API
If your project serves a frontend — HTML, CSS, JavaScript, and images — you don’t want those requests passing through your Node.js process. Nginx can read files directly from disk and return them without forwarding anything to the API:
server {
    listen 80;
    server_name example.com;

    location /static/ {
        root    /var/www/myapp;
        expires 1y;
        add_header Cache-Control "public";
    }

    location / {
        proxy_pass          http://localhost:3001;
        proxy_set_header    Host            $host;
        proxy_set_header    X-Real-IP       $remote_addr;
        proxy_set_header    X-Forwarded-For $proxy_add_x_forwarded_for;
    }
}
Because Nginx uses longest-prefix matching, location /static/ wins over location / for any path beginning with /static/. All other requests fall through to the proxy block.
The root directive maps the URL path to a filesystem path. A request for /static/app.js causes Nginx to look for the file at /var/www/myapp/static/app.js. The expires 1y and Cache-Control "public" headers tell browsers to cache these assets aggressively. If you version your assets with a content hash in the filename — as most build tools do — clients fetch new versions only when the content actually changes, not on every page load.
Load balancing with upstream
When you run multiple instances of your API, Nginx distributes traffic between them using an upstream block:
upstream api_servers {
    server localhost:3001;
    server localhost:3002;
    server localhost:3003;
}

server {
    listen 80;
    server_name example.com;

    location / {
        proxy_pass          http://api_servers;
        proxy_set_header    Host            $host;
        proxy_set_header    X-Real-IP       $remote_addr;
        proxy_set_header    X-Forwarded-For $proxy_add_x_forwarded_for;
    }
}
By default Nginx uses weighted round-robin: each new request goes to the next server in the list, cycling through them evenly. You can adjust weights if one instance has more capacity:
upstream api_servers {
    server localhost:3001 weight=3;
    server localhost:3002 weight=1;
}
Three out of every four requests go to port 3001. For APIs where response latency varies, least_conn routes each new request to whichever server currently has the fewest active connections:
upstream api_servers {
    least_conn;
    server localhost:3001;
    server localhost:3002;
}
If a server fails to respond, Nginx marks it temporarily unavailable and routes around it. The max_fails and fail_timeout parameters on each server directive control how quickly a failing instance gets removed and how long it stays out of rotation. This proxy-layer failover is complementary to — but different from — container-level health checks; the pods, deployments, and services post covers how orchestrators handle that layer.
Gzip and rate limiting at the edge
Gzip compression
Nginx compresses responses before sending them. For JSON APIs and HTML pages, this meaningfully reduces response sizes and improves perceived load times:
http {
    gzip            on;
    gzip_types      text/plain text/css application/json application/javascript;
    gzip_min_length 1024;
    gzip_vary       on;
}
text/html is always compressed when gzip on is set, but JSON responses require explicit inclusion in gzip_types. gzip_min_length 1024 skips compression for very small responses where the overhead outweighs the saving. gzip_vary on adds a Vary: Accept-Encoding header so intermediate caches store separate copies for compressed and uncompressed versions of the same URL — without it, a CDN might serve a compressed response to a client that didn’t request one.
Rate limiting
Nginx’s limit_req module uses a leaky bucket algorithm: requests arrive at any rate but are processed at a defined rate. This protects endpoints from traffic spikes and scraping:
http {
    limit_req_zone $binary_remote_addr zone=api:10m rate=10r/s;
}

server {
    location /api/ {
        limit_req   zone=api burst=20 nodelay;
        proxy_pass  http://api_servers;
        ...
    }
}
limit_req_zone defines the zone: 10 MB of shared memory to track per-IP request counts, at 10 requests per second. burst=20 allows up to 20 additional requests to queue before Nginx starts rejecting with a 503 Service Unavailable. nodelay processes all burst requests immediately rather than spacing them out over the next two seconds.
Put limit_req_zone in the http block — it lives in shared memory and is defined once. Put limit_req inside the server or location block where you need the limit.
What goes wrong in practice
The trailing slash in proxy_pass
This is the most common silent mistake in Nginx configs:
# Passes /api/users to the upstream unmodified → upstream receives /api/users
location /api/ {
    proxy_pass http://localhost:3001;
}

# Strips the /api/ prefix → upstream receives /users instead
location /api/ {
    proxy_pass http://localhost:3001/;
}
The second form strips the matched location prefix before forwarding the request. If your Express app mounts routes at the root, the first form is almost always what you want. The second silently rewrites paths and produces 404s that can take time to track down because the app logs look normal — it’s receiving requests, they’re just hitting paths that don’t exist.
| Symptom | Likely cause | Fix |
|---|---|---|
| App receives wrong Host header | Missing proxy_set_header Host $host |
Add the header directive |
| Proxied routes return 404 | Trailing slash in proxy_pass |
Remove the trailing slash |
Client IP is always 127.0.0.1 |
Missing X-Real-IP header |
Add proxy_set_header X-Real-IP $remote_addr |
| Config change has no effect | Nginx not reloaded | Run nginx -t then systemctl reload nginx |
Before applying any change, validate with nginx -t. It checks the config without affecting running traffic — typos in an upstream block or a misplaced semicolon get caught before they cause downtime. If the test passes, reload with systemctl reload nginx, not restart. A reload is graceful and doesn’t drop active connections.
sudo nginx -t && sudo systemctl reload nginxThe nginx mindset
Nginx as a reverse proxy is a separation-of-concerns decision. Your application handles business logic. Nginx handles the traffic layer: routing, compression, rate limiting, static files, and eventually TLS. Those are infrastructure concerns, not application ones, and keeping them out of your Node.js process makes both halves easier to modify independently.
The config built in this post covers most of what a single-server Node.js deployment needs. Adding HTTPS changes the listen directive and introduces a certificate file path and an HTTP-to-HTTPS redirect block — those modifications are contained and don’t touch the proxy_pass or upstream configuration at all.
If you’re building the Express API that Nginx proxies, the production Express project structure post covers how to organise the application layer. For deploying the whole stack to a cloud environment, deploying a Node.js API to AWS shows what the infrastructure side looks like.